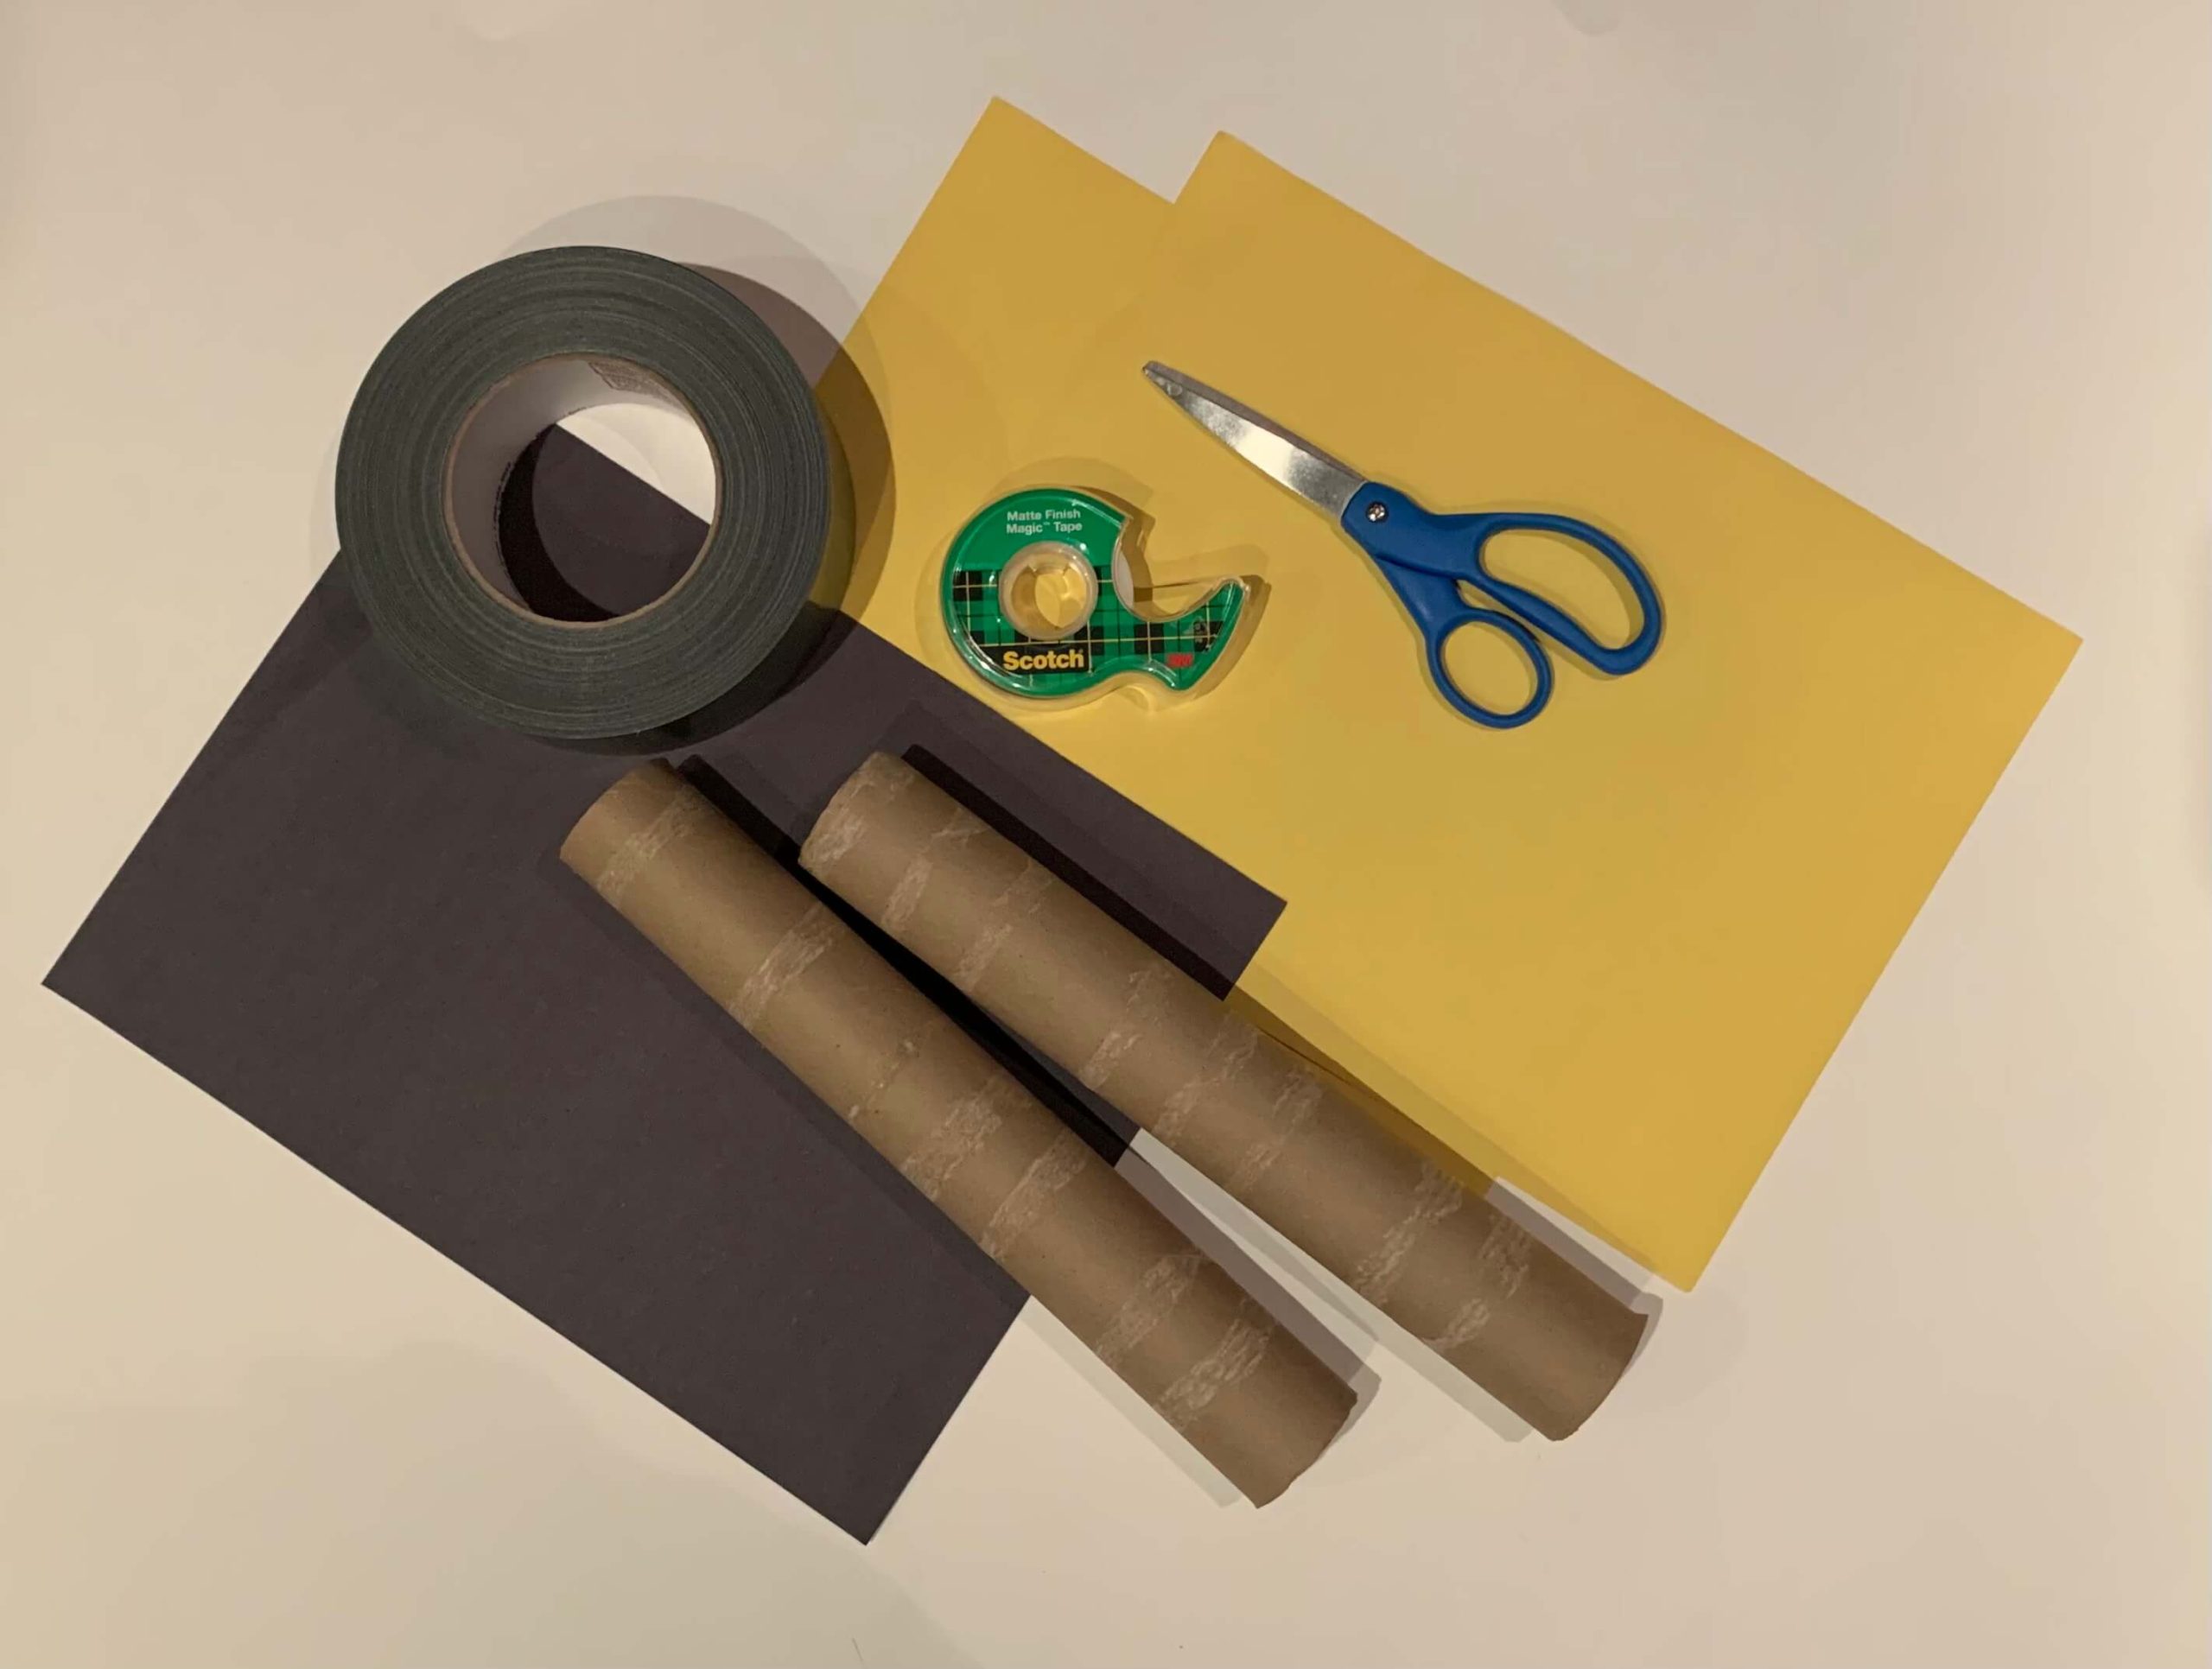
One of the tricks of making crafts out of recycled materials is letting the natural shape of the objects you choose inspire what they can become. Take paper towel rolls, for instance. Their long, narrow shape calls to mind other long, narrow things, like wands and flutes. Here you’ll find instructions for a magic wand, a fairy wand, a playful flute, and a light saber. Use these ideas as a jumping off point and then try coming up with variations of your own! Enjoy, and please send pictures of your creations to the editor at george@redhookstar.com.
Magic Wand
What you’ll need: Black and white paper, scotch tape, scissors.
Where to start: Lay out your black paper and place your roll to one side. Tape the starting edge of the paper along one side of the tube and roll until you reach the other end of the paper, then tape the outer edge in place.
Finishing touches: Cut strips of white paper about one and a half inches wide and long enough to go all around the tube. Tape the white paper in place along the top and bottom of the tube and poof! — you have a magic wand.
[slideshow_deploy id=’14613′]
Fairy Wand
What you’ll need: Wrapping paper, ribbon, scotch tape, scissors, stapler (optional).
Where to start: Any wrapping paper you have on hand will do, but something with a little shimmer or a pretty pattern like flowers or butterflies fits the theme well. Cut a piece of wrapping paper wide enough to cover the tube top to bottom then roll and tape it in place. As with the magic wand, it’s good to tape the starting edge of the paper in place before you roll, and then tape the outer edge of the paper when you reach it.
Finishing touches: Cut six to eight strips of ribbon each about a foot long and tape or staple them inside one end of the tube. Ribbon with a bit of curl to it works well, but you can also mix and match styles or colors that coordinate with the wrapping paper.
Flute
What you’ll need: Aluminum foil, scotch tape, scissors, construction paper, glue.
Where to start: Tear off a piece of aluminum foil large enough to cover the tube top to bottom. Tape the starting edge, roll all the way around, and tape in place at the other end. If any foil extends over the top or bottom, tuck it inside the tube.
Finishing touches: Cut colorful circles out of construction paper. The number, size, and color of circles you choose are up to you. I used five different color circles each about one inch in diameter. Glue the circles in a row along one side of the flute and allow to dry completely.
Light Saber
What you’ll need: Two paper towel rolls, duct tape or masking tape, construction paper, scotch tape, scissors.
Where to start: Use strong tape to connect two rolls into one longer shape. Choose two pieces of construction paper of the same color and roll and tape them into place to cover most of tube. It can be a little short on one side where the handle will be. (Note: My son pointed out that light sabers are not actually yellow. If you also have a child who has an exacting eye for detail, please choose light blue, light green, or red paper to more accurately portray a light saber!)
Finishing touches: To make a handle, cut a strip of black paper about four inches wide and long enough to go around the tube. Roll and tape it into place on one end of the tube.
February preview: Start saving magazines and catalogs for a Valentine collage project!


