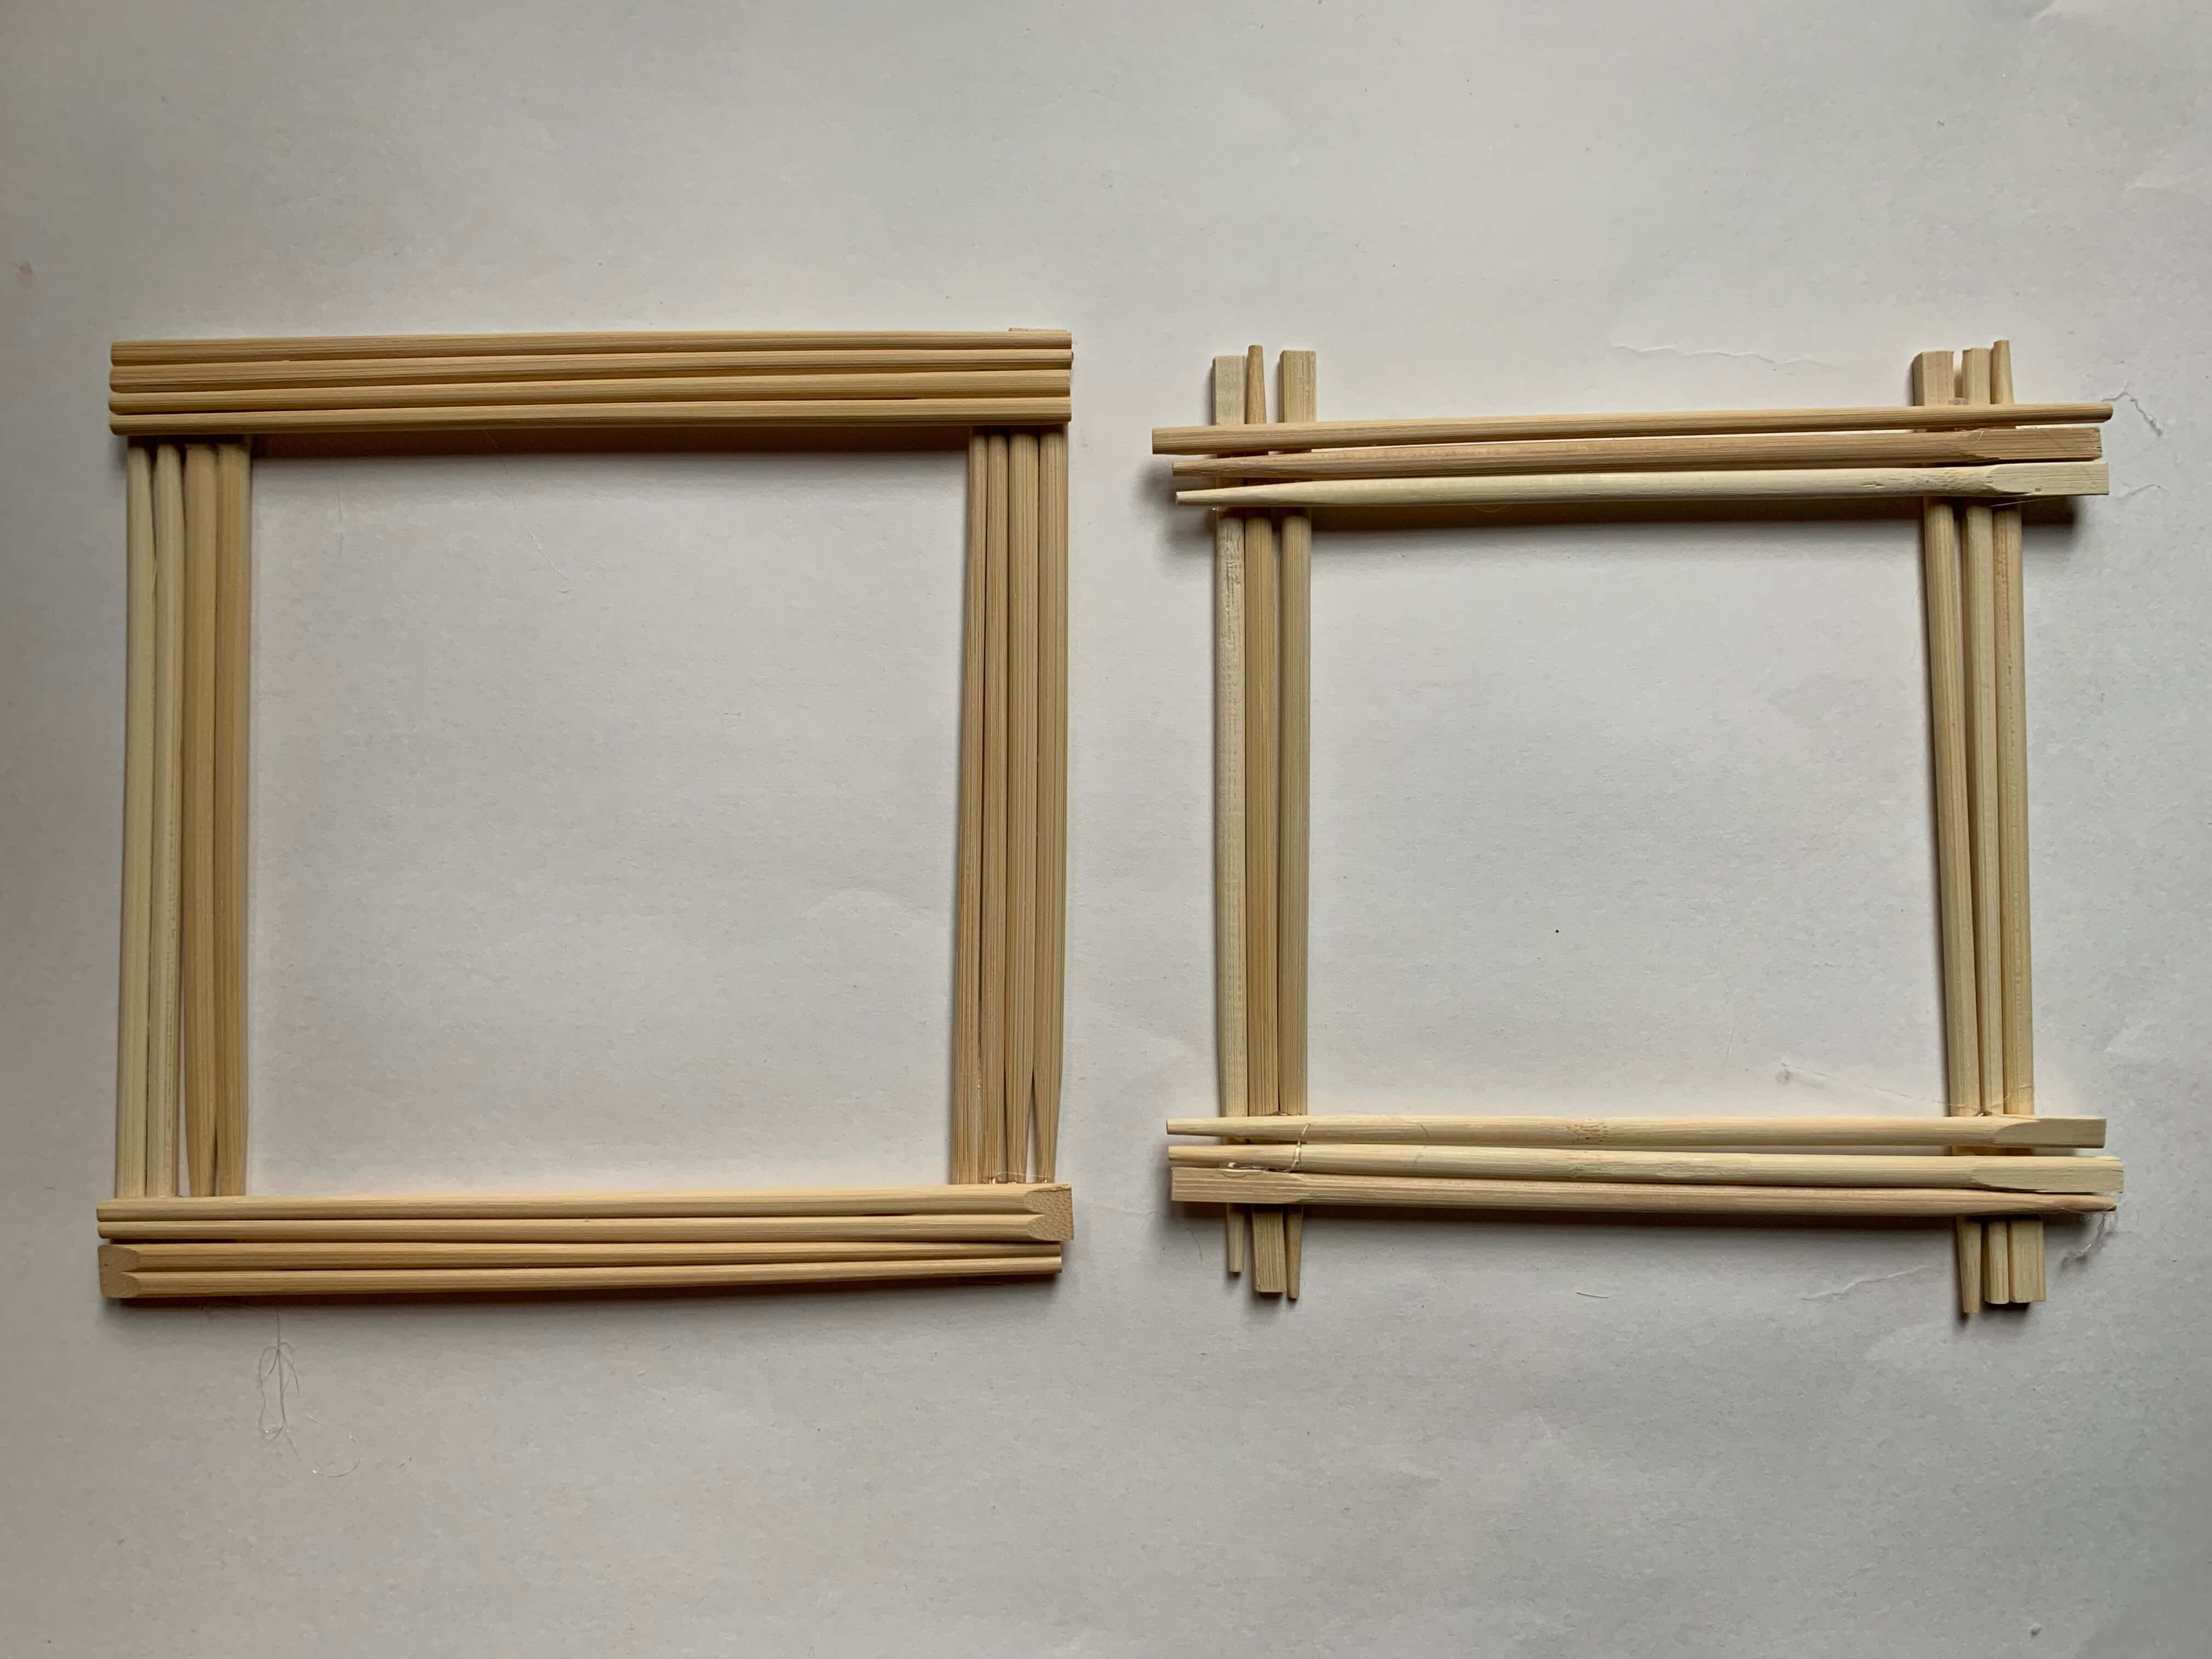
If you’re like me, you have a drawer in your kitchen where you stash things like take-out chopsticks because it seems wasteful to throw them away. Here’s an easy craft idea to transform those chopsticks into picture frames for children’s artwork, photos, postcards, or whatever you’d like to display.
What you’ll need: To make the frames, all you’ll need is take-out chopsticks, glue, and paint. A hot-glue gun will let you work more quickly, but school glue can also be used. Optional decorations include small branches and pine cones, dried flowers, stickers, beads, or anything you choose.
Lay out your chopsticks. Take chopsticks out of their paper wrappers and lay them flat. Most pairs are connected on one side. You can either leave them connected as you create your frame or divide them into individual sticks before you begin.
[slideshow_deploy id=’14938′]
Design your frame. It’s up to you how wide or thin you’d like the sides of your frame to be. I made one frame using two sets of connected chopsticks on each side, and one frame using three individual sticks on each side. Decide whether you’d like the chopstick edges to meet precisely at the corners (like my 4-stick-width frame) or if you’d like them to look more randomly placed, like my 3-stick frame.
Glue sticks in place. Start by laying out two sides of your frame, then position the third side to set the final shape of your frame and glue in place at the corners. Glue down the fourth and final side of your frame at the corners and let dry completely before painting.
Paint your frames. Once painted, it’s hard to tell that the frames are made from chopsticks. You can use either washable craft paint or acrylic. If using acrylic, consider covering surfaces and wearing clothing you don’t mind getting paint on, since acrylic will not wash out. You can pick any color for your frames. I chose turquoise for one, and dark brown for the other.
Add decorations. I left my blue frame unadorned, but my brown frame reminded me of branches so I decided to add some natural elements. I found small twigs and pine cones from a hemlock tree and glued a pine cone on each bottom corner and a cluster of small branches and two additional cones on top, in the center of the frame.
Display ideas: Once the paint is dry and decorations are in place, secure artwork to the back of your frame using scotch or masking tape. Prop frames up on a shelf or hang them on the wall using 3M Command Strips which won’t damage the wall if you change your arrangement.
Share your designs with us! Send photos to our editor at george@redhookstar.com.
April preview: Start saving tea boxes for an Easter craft!

